Recording Studio Build #2 – Insulation & Sound Proofing
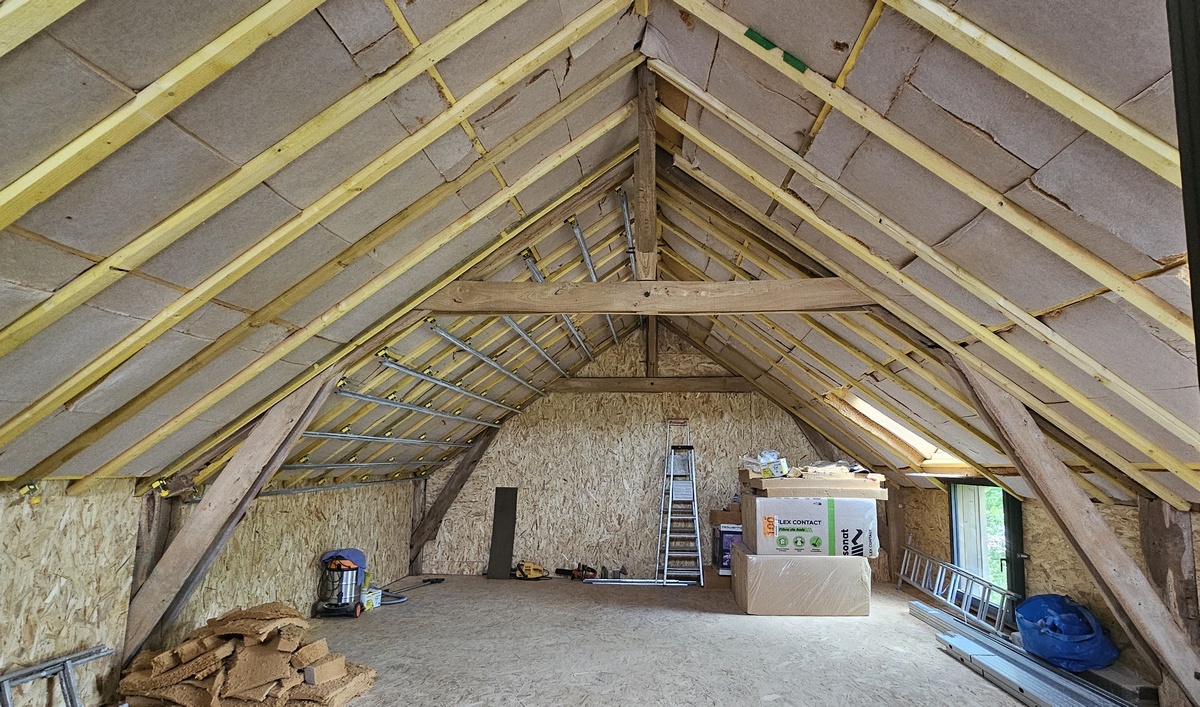
After renovating the barn, now starts the actual work on the studio itself!
The roof, the wood structure of the barn and cladding provide no insulation at all (you can currently hear the birds and the wind inside the room). It will require several layers to get proper sound proofing (the objective is to be able to play and record drums without disturbing the neighborhood).
Insulating the studio from the outside is not a big deal, as the neighborhood is pretty calm. However, as I plan to play drums inside the studio, I need a pretty large amount of dampening in the walls, with a wide frequency range (bass is always THE problem).
This requires several layers of insulation, alternating between stiff and soft materials, as heavy as possible. I have chosen to use several layers of plasterboard with different densities (the more changes in acoustic impedance, the better the insulation), and wood wool.
Wood Wool
I chose to use wood wool because it is less toxic than rockwool, a bit more ecological, and provides better thermal insulation as well (since the studio is under the roof, it can get pretty hot in summer).
That’s what it takes to insulate the music studio properly!!
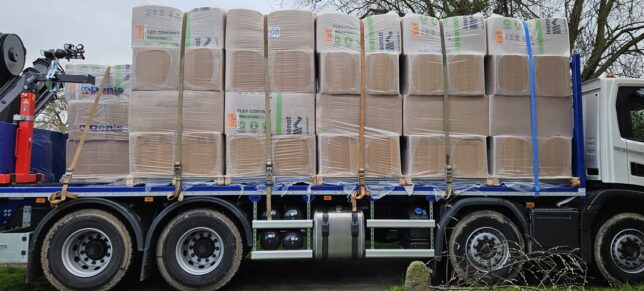
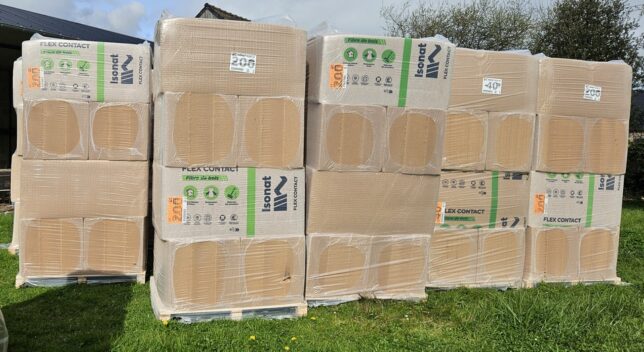
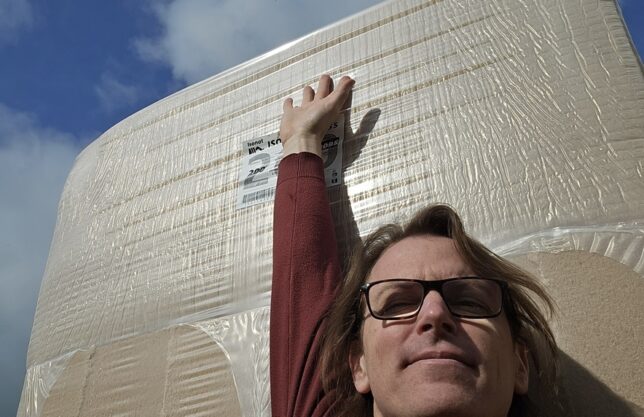
I don’t remember the exact figures, but that’s several tons of wood wool here to place in the walls, the roof and below the floor.
The Roof & Ceiling
For the roof, the plan is to have a thick layer of wood wool, and then two layers of plasterboard with different densities (the most rigid first, to reduce the amount of direct reflections inside, if that makes any difference…).
Preparation
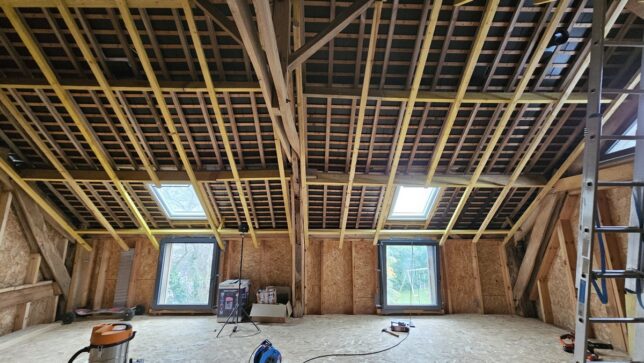
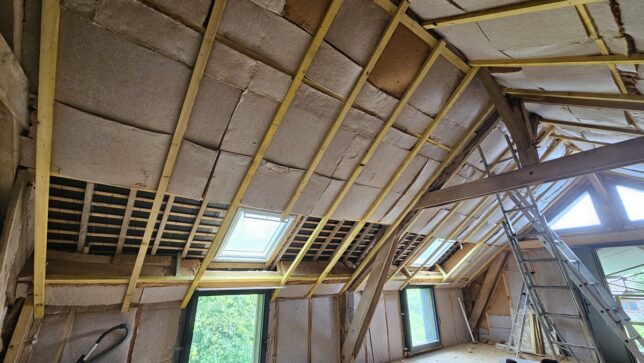
The bare roof requires some extra beams before placing the insulation and the plasterboard. It is approximately 4.5 meters high at this stage, so it’s a bit acrobatic sometimes!
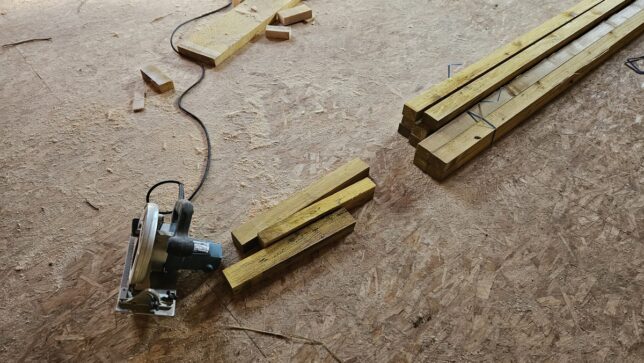
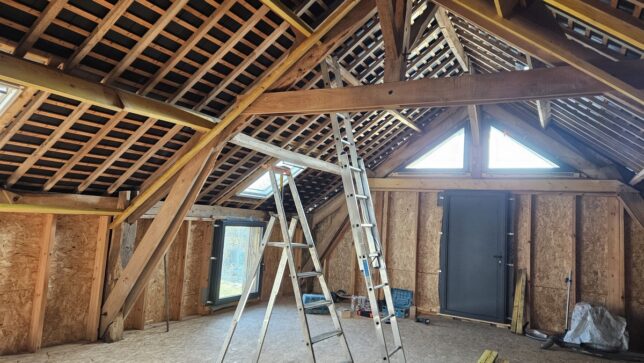
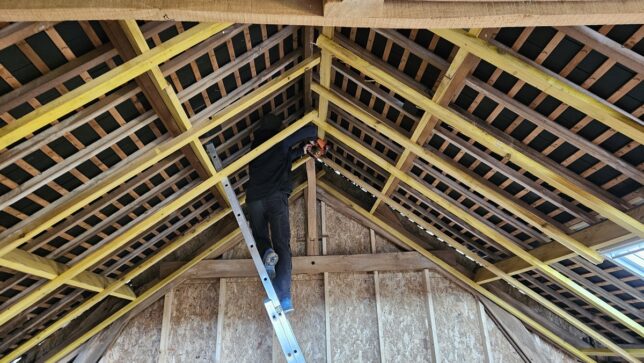
Installing Wood Wool
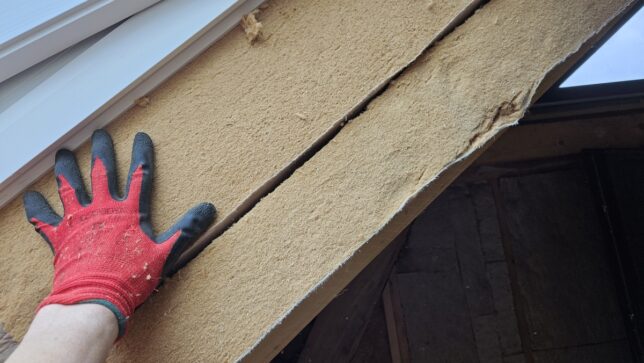
It is then time to add the wood wool (technically I actually used wood fiber panels). We used two layers for a total of 300mm.
It was not very convenient to install (especially at the top!), but we could feel immediately the difference in temperature and noise!
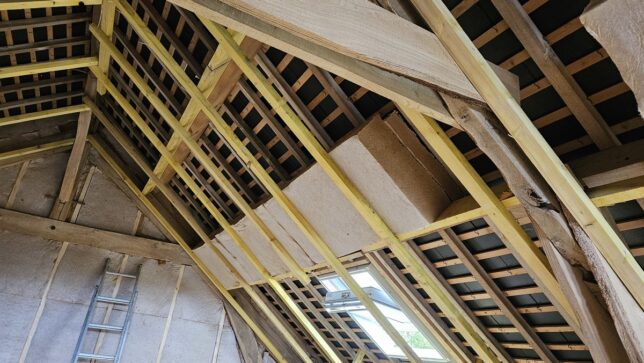
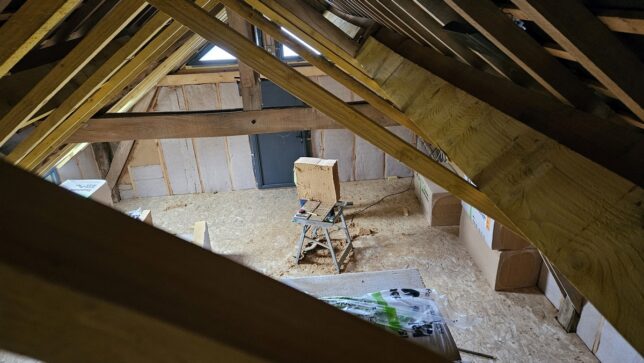
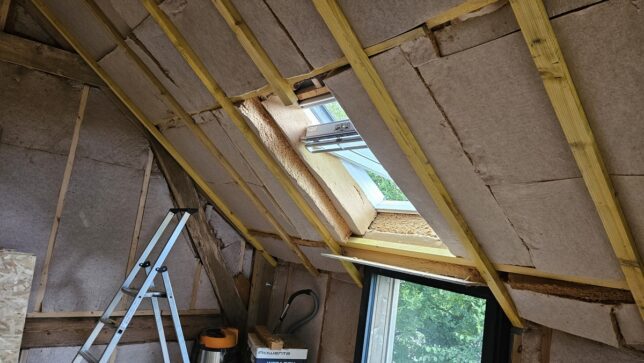
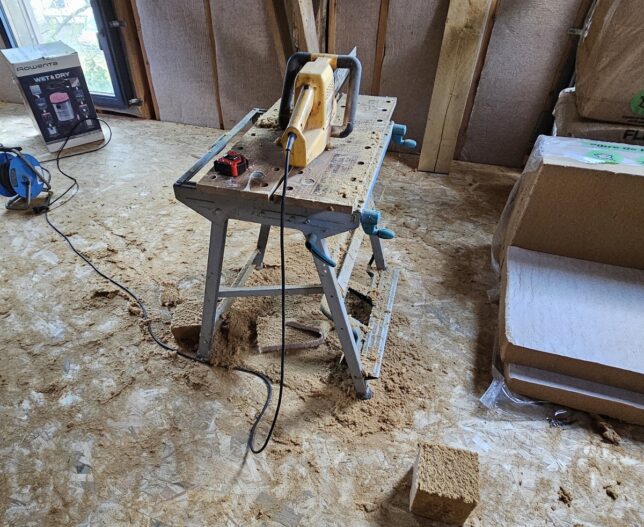
Good to know: it would have not been possible to do all this work without a magical tool, the alligator saw! That’s the only tool capable of cutting the wood wool without too much trouble.
The Structure For The Plasterboard
After doing several soundproofing tests (more on that later), I noticed that the sound was transmitted to the outside thru the wood structure, the cladding acting like a loud speaker… Not good!
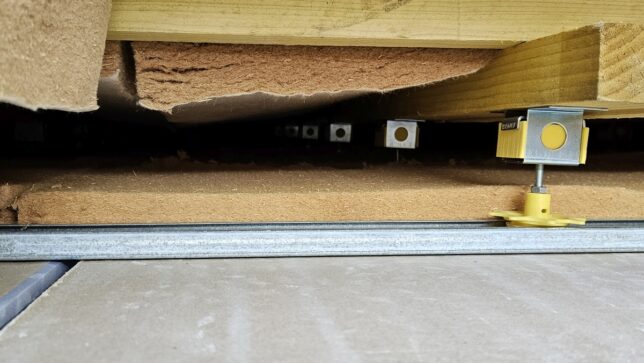
In order to avoid the vibrations to propagate into the wood structure, I have decided to use special sylomer pads to attach the metallic beams for the plasterboard. It provides pretty good decoupling between the rigid inner walls and the wood structure of the building and will greatly improve sound proofing.
Note: even better soundproofing could have been achieved if the various parts of the wood structure had been decoupled earlier.
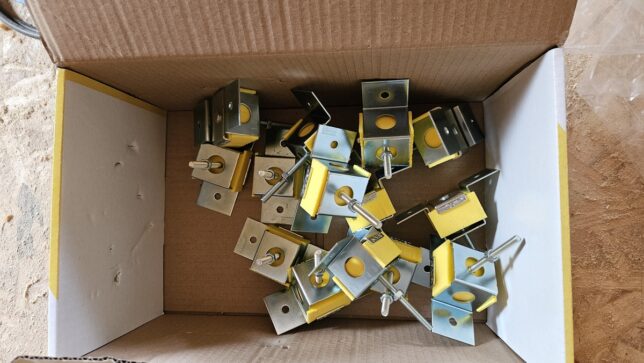
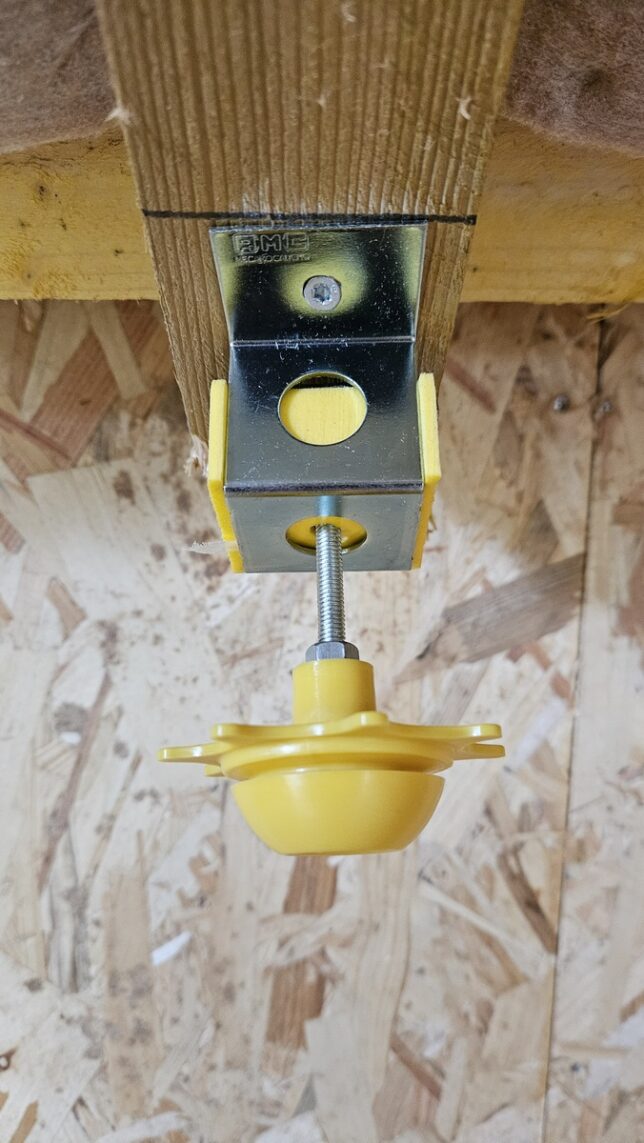
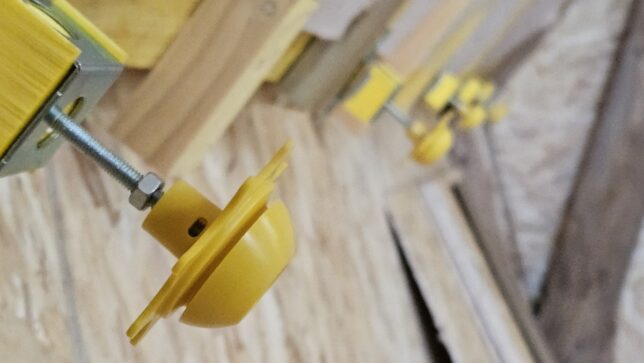
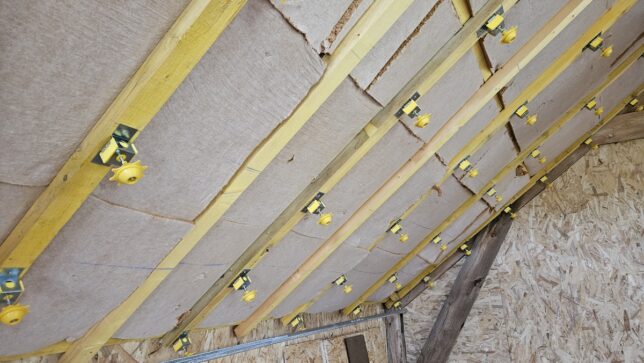
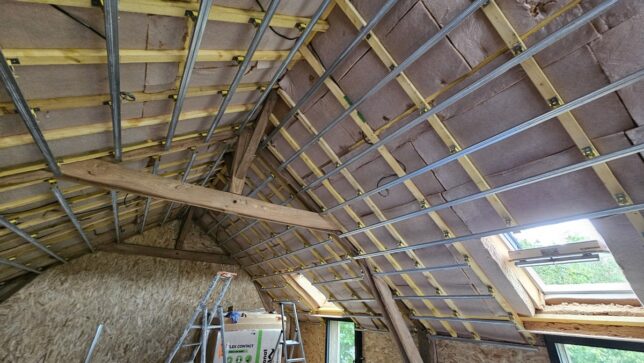
It is not cheap, but definitely worth the money. I don’t think I could have achieved proper soundproofing without these, given how much the vibration propagated thru the wood beams (you could feel them vibrate when playing loud music inside).
Ceiling Plasterboard
It’s now time to close the roof with 2 layers of plasterboard with different densities. I have used acoustic plasterboard first (it’s extremely heavy and rigid), and a second layer of “regular” plasterboard below.
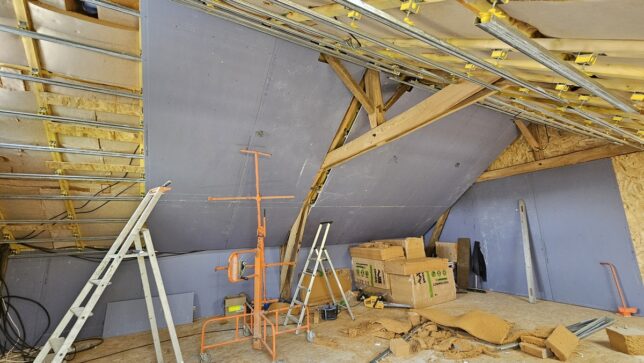
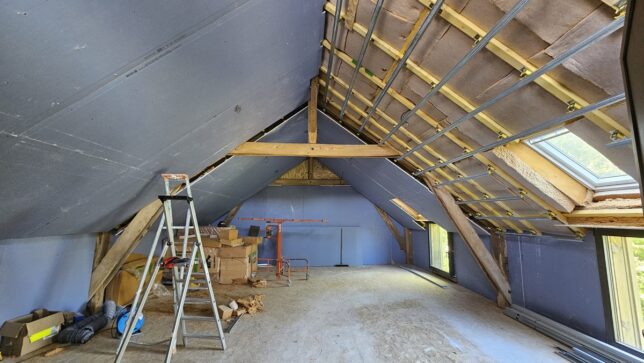
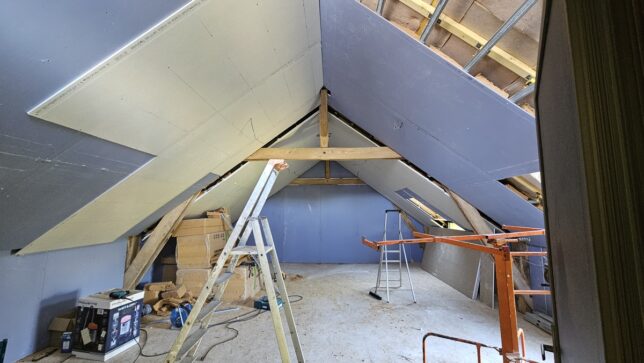
In order to minimize potential resonances and sound transmission from the plasterboard ceiling into the beams via the air, I have added a thin layer of wood wool on the ceiling:
Beams, Vibrations & Sound Proofing
Since it is an old barn, there are quite many beams everywhere, and I’d like to keep them as visible as possible. In order to minimize resonances between the beams structure and the ceiling, and yet ensure the roof’s airtightness, I have used special foam (initially designed for the walls as you will see later):
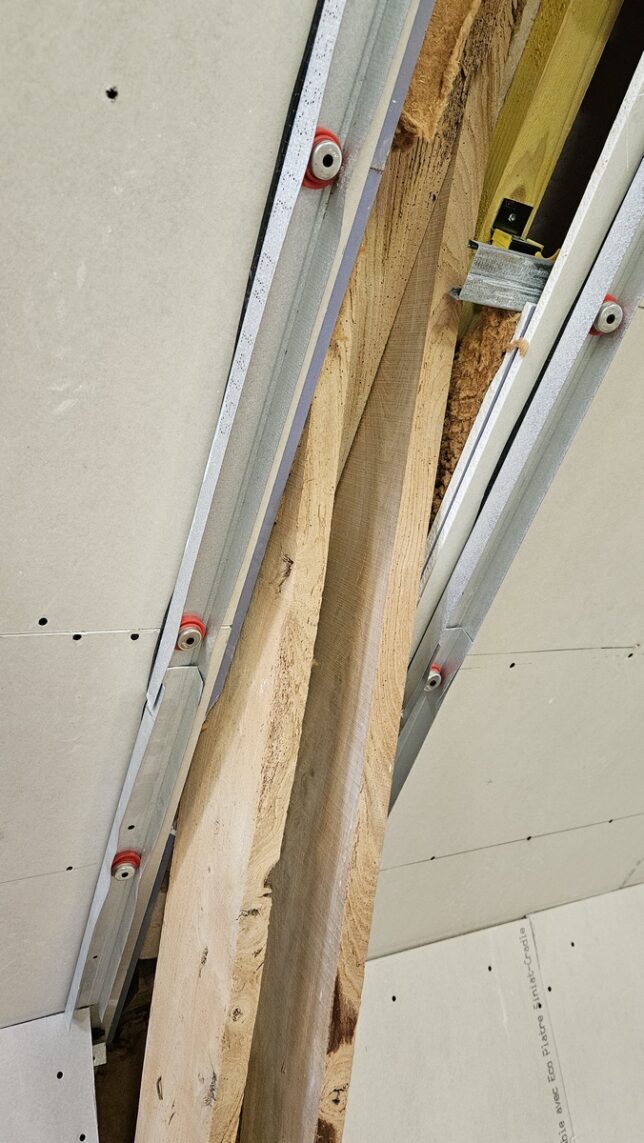
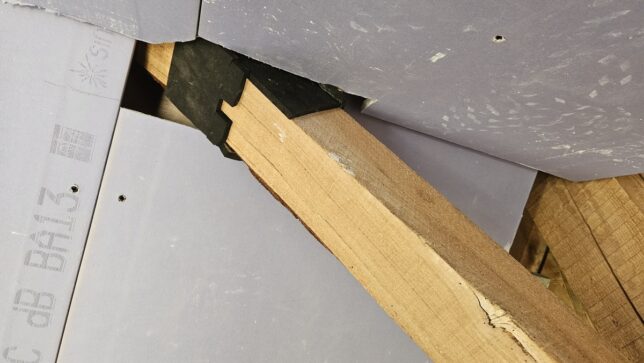
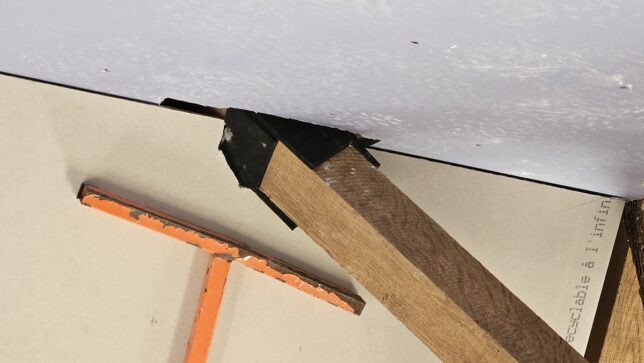
The plasterboard and the foam are in contact (air tightness), but the transmission of vibrations is limited compared to direct contact between wood and plasterboard, which would have ruined soundproofing.
That’s it for the roof/ceiling! Before getting into the details for the walls and the floor, let’s talk about the incremental soundproofing tests.
About Soundproofing Tests
At every step of the process I have performed soundproofing tests to check how much sound would go thru. This is very helpful to make decisions on the next steps and see (hear) the influence of each step.
I have chosen to do simple “real world” tests using music that is likely to be played in the studio rather than doing scientific tests checking the absorption for a set of frequencies.
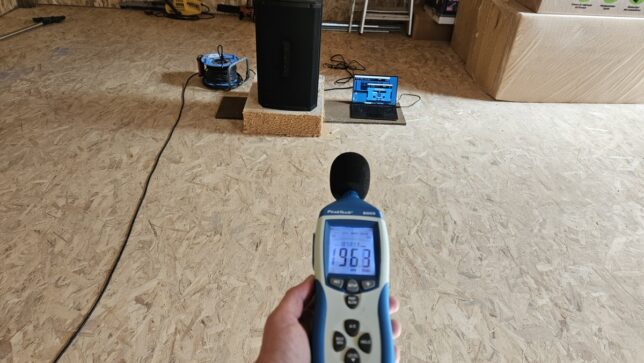
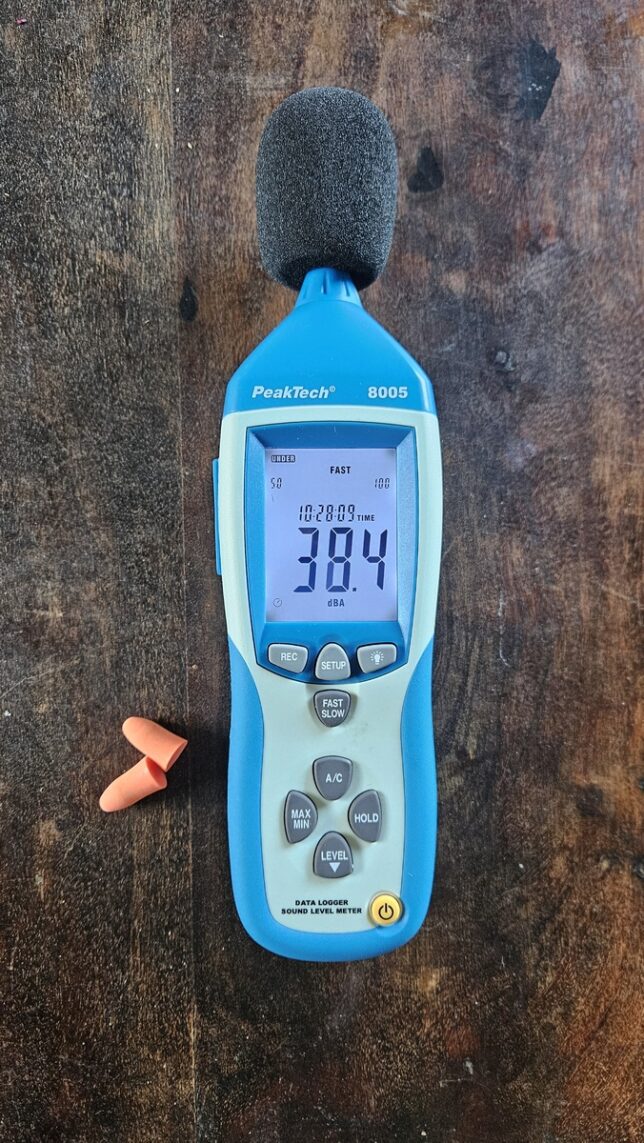
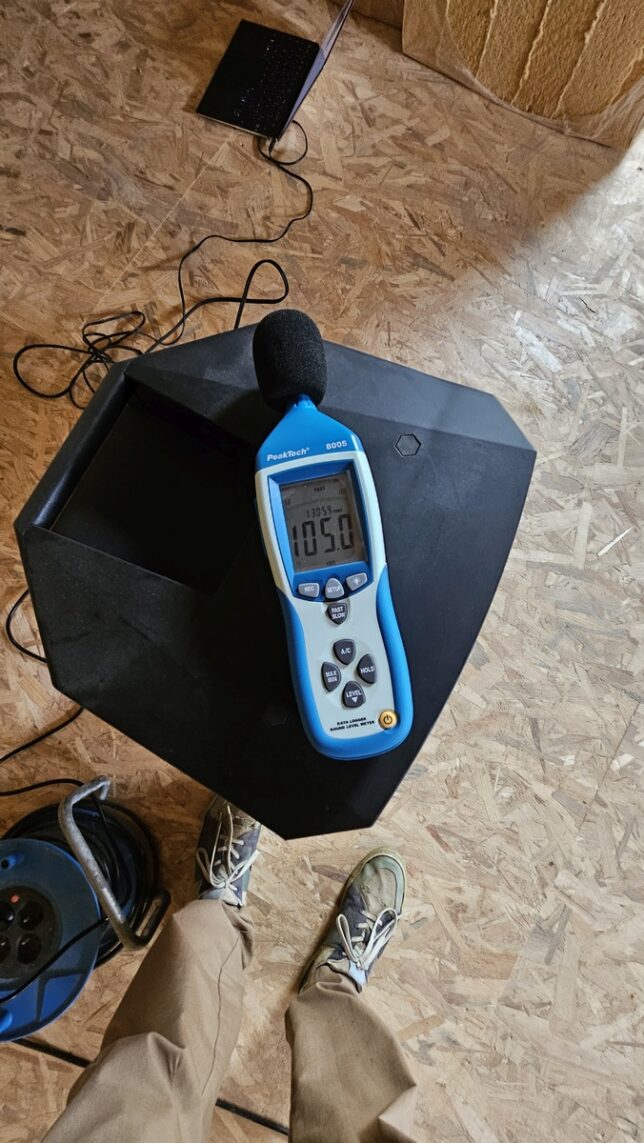
I measured the loudness of what is being played inside with a SPL meter:
It is a bit more difficult to do the same outside as there is already noise, but checking what you can hear with your ears is already a good indication.
Also pushing the music louder inside lets you measure its level outside and the difference gives you a good idea of the attenuation, but you reach the limits quickly once the attenuation is getting good enough.
Warning: PROTECT YOUR EARS BEFORE DOING THIS!!!
That’s it for today! Next step: the walls and how they have been fully decoupled from everything else.
